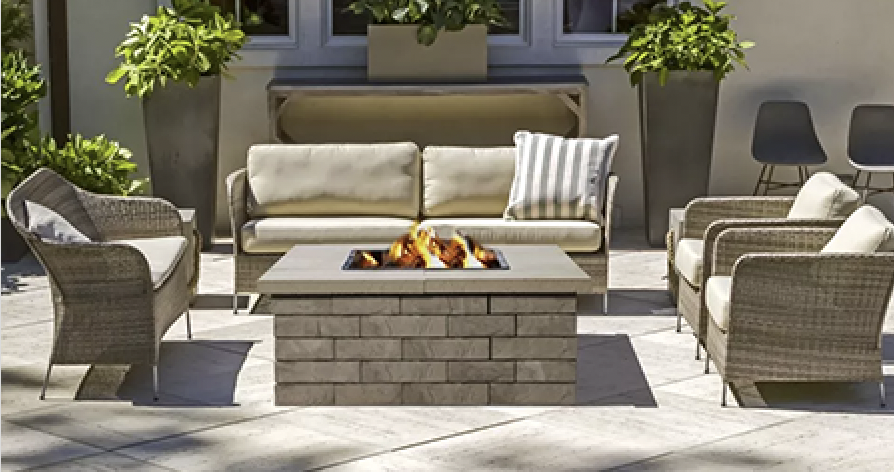
5 Benefits of Installing an Outdoor Fire Pit
Fire pits are perfect for s’mores and parties, and they even make your home more attractive to buyers if you [...]
Fire pits are perfect for s’mores and parties, and they even make your home more attractive to buyers if you [...]
Fall is the perfect time to enjoy campfires. You don’t have to deal with the pesky mosquitos of summer and [...]
Fall is the perfect time to enjoy campfires. You don't have to deal with the pesky mosquitos of summer and [...]
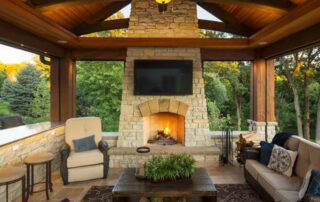
Winter is approaching in Milwaukee, but that doesn’t mean you can’t still think about outdoor home additions or renovations. Use [...]
So, you've redone your brickwork and there's a heap of old bricks left over. You may be better off recycling [...]
Summer may be over, but grill season never needs to end! By building a brick grill meant to last, you [...]
Nothing ties a home together quite like a brick walkway or patio. Brick and concrete paver outdoor fixtures have [...]
In only a few months the cool winds and white snowfalls of winter will arrive. Are you ready? There's probably [...]
Are you looking to give your backyard a makeover? Or maybe you just want to spruce it up a little. [...]
You walk outside to enjoy some needed sunshine only to find weeds. Lots of weeds. There's little else to look [...]
> Home
> About Us
> Blog
> Contact Us
Monday-Friday: 7AM-4:30PM
Saturday: 7AM-12PM
© Copyright Champion Brick. All Rights Reserved. | Site Map | Milwaukee Web Design